The team is back again with a Style Challenge for this week.
Playful Charm
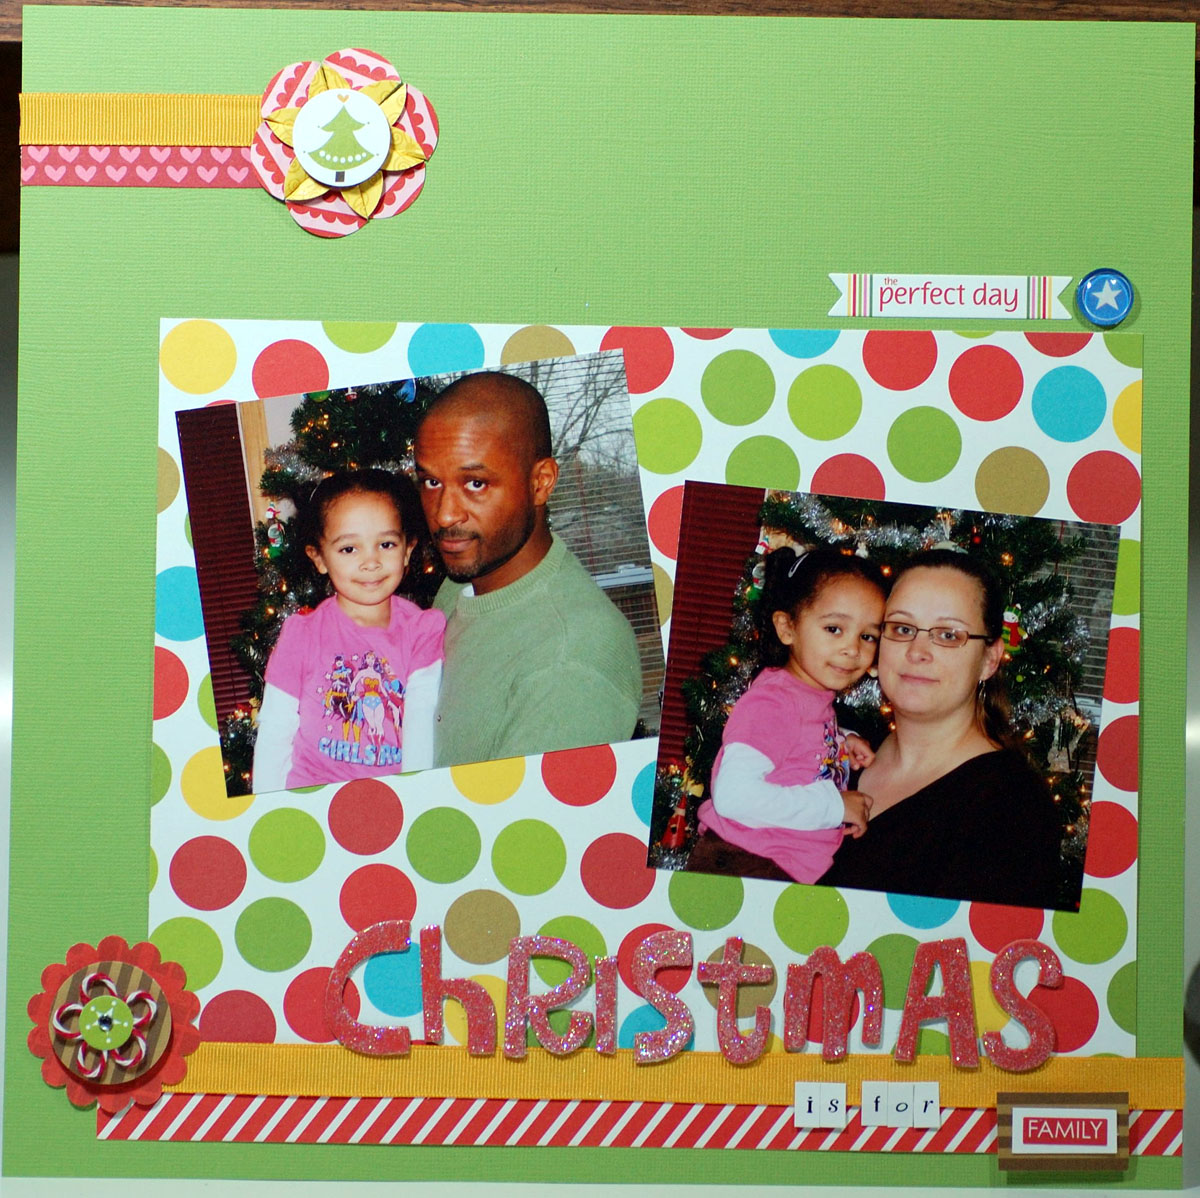
This style incorporates complementary colors in muted or bright tones. Paper with coordinating patterns, checks, dots, strips, and accents such as paper dolls, three dimensional and whimsical accents are common.
Tracey
Here is my take on this style. I have a really hard time creating based on different styles. I tend to just 'do my thing' and see how it turns out.

Supplies:
Bella Blvd Christmas Wishes collection
Bazzill cardstock
Lace trim & gold ribbon from Turtle bulk wall
Buttons from stash
twine from The Twinery
Stickles
Smooch Spritz
___________________________________
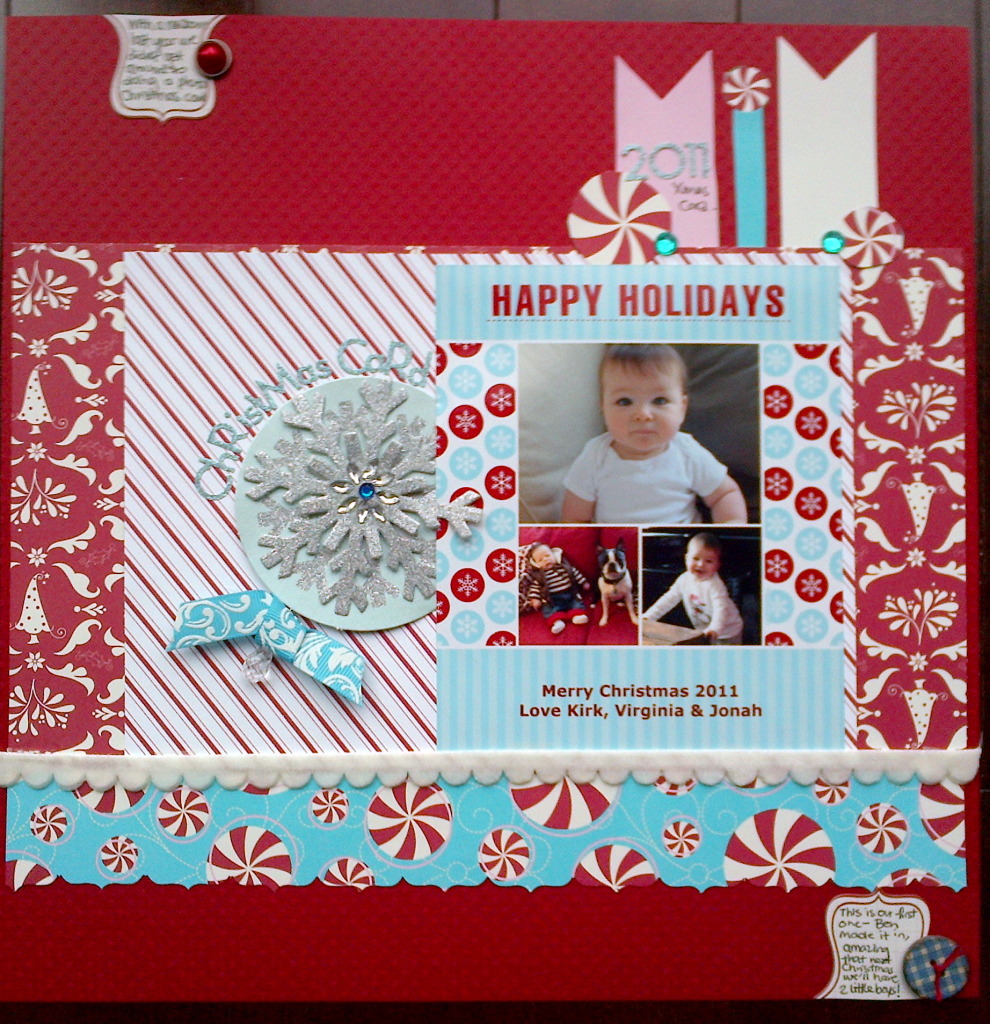
Michele
Playful Charm was new to me and upon researching, I fell in love with it. Well it's a form of Freestyle and I'm so fond of that as you know. So yes, I so enjoyed doing this layout!!

Papers: Echo Park - Season's Greetings Collection
Inks: Brown Cat's Eye chalk inks, willow green mist (with a Crafter's Workshop tree template), black pigment ink pen for doodles and purple Glimmer Glam for the bottle cap
Ornaments: 1 large bottle cap, Fancy Pants hats glitter transparency, letters cut with QK-Central Park, gems, a little witch pot, 2 bats Rub-Ons and a piece of green ribbon
________________________________
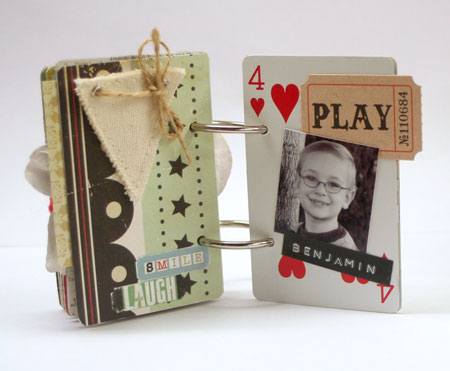
Julie

Products used:
Echo Park Holly Jolly Christmas paper
Misc. holiday stickers
Misc. green cardstock