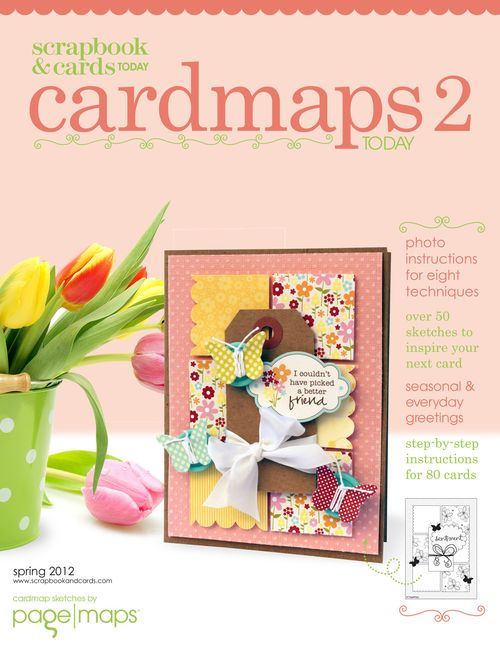
How adorable are these butterflies?!?!
Spring Butterflies
As you can see from this card, I made a multi-colored butterfly by following the steps I've shown below but also adding a 2nd color to the fork before tying the twine and taking it off the fork.
Here is how I made the butterflies:
First, wrap as much twine around a fork as you'd like. The more twine you use the fuller your butterfly will be. For the size of butterflies I made on the frame, I wrapped the twine around all four tines on the fork. In order to tie the butterflies evenly at the end, it is best to wrap around an even number of tines.
After you've finished wrapping, you will want to take a contrasting color of twine and wrap around the center tine twice and tie. You will want the knot centered at the top of the butterfly. Be sure to pull tight. Once you tie your knot this piece will also become your butterfly's antennas.
This is what the butterfly looks like after you've taken it off the fork.
The last step is to trim the antennas to the size you would like them to be.
If you want to make the smallest butterflies, I wrapped the twine around only 2 tines and then completed the steps above.
Thanks for the inspiration Jennifer!!
Pop into the store today to get some of these yummy twine and make some of these sweet butterflies for your next project!