Halloween is just about here and I came across these fabulous treat bags on American Crafts blog and had to share them here.
__________________________________
Halloween Treat Bags
By Corrie Jones
Supplies: Stone (71079) - Cardstock, Fall Moon Paper (35525) - Nightfall, Halloween Night Paper (35507) - Nightfall, Midnight Moon Paper (35511) - Nightfall, Jack-O-Lantern (42206) - Remarks, Basic Chalkboard Labels (42208) - Remarks, Black (58313) - Specialty Ribbon, Dimensional Dots (61709) - This to That
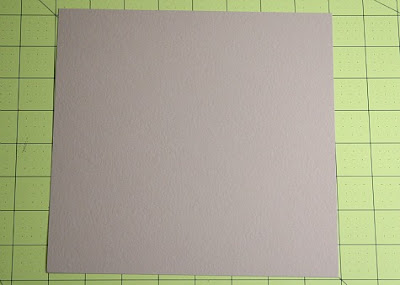
Step 1: Cut an 8x8 piece of lightweight cardstock. Now get ready for a little origami!
Step 2: Fold the paper into a triangle.
Step 3: Fold one corner to the opposite side.
Step 4: Fold the top over and glue it lightly to keep it in place.
Step 5: Turn the paper over and repeat the last fold with the other side.
Step 6: Now you have your cup for your base!
Step 7: Use your cup as a guide and cut out from the black chalkboard paper a shape just larger than your cup.
Step 8: Choose your favorite Halloween paper from the Nightfall line and mat it on your black base.
Step 9: Fussy cut clouds or other shapes from the Nightfall papers for decoration.
Step 10: Start layering your decorations with foam dots.
Step 11: Don't forget about those dimensional stickers!
Step 12: Attach ribbon for a handle to your cup. Don't worry if you can see the attachers, these will be covered up.
Step 13: Adhere your decorated piece securely to the cup.
Step 14: Add a personalized name tag, fill with treats, and display them until the kiddos can no longer wait!


No comments:
Post a Comment