Tuesday, August 30, 2011

Kit of the Week!

It's the most wonderful time of the year!!! 
The kids are just about back to school. 
I know for some of our American friends they have been back for a bit. 
How many of you scrappy Moms out there made or will make your kid(s) pose for the requisite first day photos?!?!?!  Well, this week's "Quic-Kit" is perfect for those shots!


Monday, August 29, 2011

Simple Stories Inspiration

New on our shelves is two fabulous collections from Simple StoriesHappy Day is perfect for all of those birthday pictures and Baby Steps will help you create adorable projects featuring your little ones.

Today I have some inspiration to show you using Baby Steps.  All projects created by Simple Stories' Design Team member Kim Holmes.


I am in LOVE with the new BABY STEPS Collection!

Of course, it helps that my second grandbaby is on the way! I love the current trend in mini-books where all the elements and pages are different sizes but all part of the same book. The Simple Stories system of elements is perfect for this sort of creation! I worked with almost every part of the collection for this Baby's First Year Photo Album:


After using the 6 x 6 Paper pad for the base pages, I used the 4 x 6 elements for additional inside pages. The 1st - 12th month journaling spots are perfect elements to place across from the monthly photo space. I love that they are 2-sided and the back adds extra space for more journaling and/or photos. Every month has a page for a photo, a card for monthly milestones, and two additional mini elements for added photos and/or journaling.

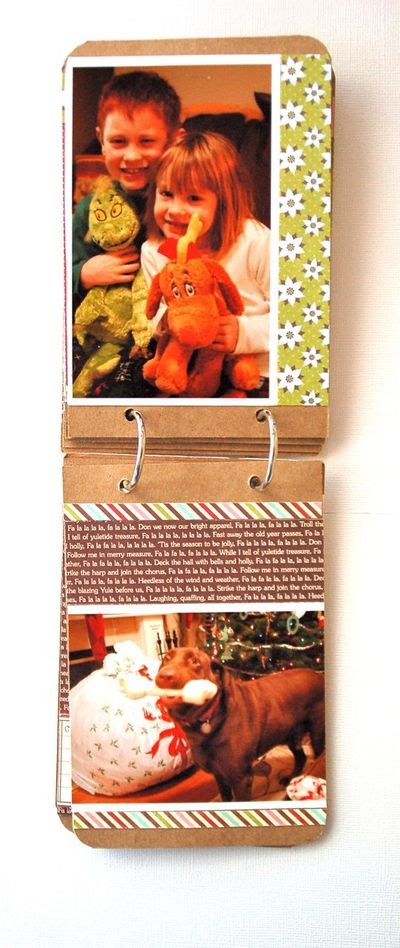
Here is a sample of what month #2 looks like:


a couple more inside page examples:


The back cover:


Baby Steps supplies Used:

• Baby Steps 6 x 6 Paper Pad
• Baby Steps 12 x 12 Fundamental Stickers
• Baby Steps 12 x 12 Expression Cardstock Stickers
• Baby Steps Special Delivery
• Baby Steps Perfect
• Baby Steps Flash Cards
• Baby Steps Journaling Card Elements #1
• Baby Steps Journaling Card Elements #2
• Baby Steps Vertical Journaling Card Elements
• Baby Steps Border & Title Strip Elements
• Baby Steps page Elements
______________________________________

Here is a couple extra designs that were created for the booth at CHA!


Now that you finished looking at all of this adorable goodness, what are you waiting for?!?!?  Head into the store to get yours!!  This line is sure to fly off the shelves!


Sunday, August 28, 2011

Jillibean Soup Inspiration


New on the shelves is Christmas Eve Chowder and Apple Cheddar Soup from Jillibean Soup.  These collections are fantastic and sure to go quickly!!  Check out the projects below by the fabulously talented Kimber McGray.
___________________________

Christmas Mini Album


Supplies:

Jillibean Soup
Kraft Basics: 12x12 Kraft paper
Patterned Paper: Christmas Eve Chowder/Frozen Haddock, Christmas Eve Chowder/Dried Green Onion, Christmas Eve Chowder/Frozen Lobster Tail, Christmas Eve Chowder/Boiling Water, Christmas Eve Chowder/Salt & Pepper, Christmas Eve Chowder/Frozen Shrimp
Coordinating Cardstock Stickers: Christmas Eve Chowder
Pea Pod Die Cuts: Christmas Eve Chowder
Soup Labels: Christmas Eve Chowder
Bakers Twine: Brown/Red
Corrugated Sheets: White

Other: Exacto Knife, Corner Rounder, Crop-a-dile, Rings.

________________________________

Tag Make and Take


Supplies:

Jillibean Soup
Patterned Paper: Apple Cheddar Soup/Bite Sized Bits
Kraft Tags: Large
Baker's Twine: Turquoise/Green

Other: Punch: Fiskars, Ring: Office Max.

Saturday, August 27, 2011

Lost & Found Two Inspiration


New in the store and on the shelves is the gorgeous Lost and Found Two collection from My Mind's Eye.  These gorgeous products are sure to fly off the shelves so be sure to get yours today!!

Just to kickstart your mojo and have you drooling over this collection, I thought I would show you some incredible projects from the very talented Trisha Ladouceur.....

First up, is a layout featuring products from the Rosy collection.


Followed by three gorgeous cards.....


The first card I created to share with you today is a very simple one. Using assorted papers from the "SUNSHINE" Collection, a die cut, a layered sticker and 3 Decorative brads I was able to assemble this card in a matter of ten minutes. This card is perfect to give to just about anyone in your life as a token of your appreciation for being able to spend every day with them.
_______________________________________


The second card also features the "SUNSHINE" Collection. Again, I layered assorted papers, a die cut, layered sticker, layered chipboard and a decorative brad. I finished it off with a touch of Black LUSH ribbon and voila! Another card complete. Note how I layered a punched border along the right edge of the card to add a bit of visual interest.
________________________________________


Lastly, I created this final card using the "ROSY" Collection. For this card, I used my craft knife to cut around the beautiful green glittered detailing on the edge of the paper and tucked in a couple of layered papers from this line. I mounted the die cut on a piece of paper and added a decorative brad before attaching it to the card base. I finished it off with a layered sticker and another decorative brad.


Inspiration from the Blogosphere.....

There is so much inspiration on there in the blog world and I wish I could share it all!!  I did come across this fabulous video tutorial on the Hero Arts blog and thought I would share it here.

Creating a Canvas Tag


Thursday, August 25, 2011

DT Special Assignment Day!!

Thursday is here again and that means some inspiration from our Design Team!  Julie is here today to share a fabulous gift idea with you!
________________________________________

Altered Box Tutorial

by Julie Gillespie

Most people love to receive homemade gifts, especially when it is also something beautiful and useful. I have a good friend that loves to keep a lot of greeting cards on hand for all occasions, so I decided to make her birthday gift this year. It started out that I was just going to make her a nice package of assorted cards….but it soon ballooned into also making her a gift box to hold the cards. I have seen a number of altered boxes over time but have never made one myself.

I went shopping with some ideas in mind as to what kind of box I wanted and what I might want to do with it. I found a good sized boxed that had a hinged lid. It had “leather” trim and a canvas covering. The design was more for a teen but it didn’t matter as I was planning to cover it up anyway.


First, I painted the body of the box in a “leather brown” colour. It took two coats to cover the design on the box. (I still have a few little touch ups to do around the hinge and edges.


After it had dried I started adding embellishments. A piece of decorative paper on top…some flowers and lace…and then a piece of card stock with metal embellishments and her initial (R ) which I had embossed to give it more texture. I then added some rub-ons as trim. A fleur de lys chipboard piece was adhered under the clasp to pick up the same design from the paper on the top of the box. 


I then added more rub-ons to the front of the box. Lastly I adhered lace trim to the sides and back, and topped it with some “braided” trim.


The last step was to make dividers for the cards. I used fairly sturdy cardboard (the back of a paper stack actually), cut it to size, added a “tab” piece cut from cardstock to the top, and covered each piece with different papers. The dividers were made to fit fairly snugly within the box. I used rub-on words for the tabs.


OK…so that wasn’t the last step…now I have to make all the cards… I made 4 while making the box. One of them is made using my August products featuring Authentique papers and Maya Road chipboard. I also made my first Copic marker card (the purple floral one)! I will continue to make cards over the next few weeks that will be added to the box. I attended a card class during Crop for the Cure so I will also use some of those as part of the gift.


The last thing I will include with this gift is a small date book for my friend to record all the special days she wants to remember. It will also be handmade of course, a mini-album that will fit inside the box in front of the card sections.

I hope this inspires you to make some of your own gifts for the loved ones in your life.

Wednesday, August 24, 2011

ScrapFest Oshawa 2011


It is almost that time again!!  We are heading to Oshawa again this Fall to be on-site at ScrapFest

Come on out and join us!! 
There is always lots of fun happening in the Turtle booth!!

Online registration begins August 24th @ 8pm!  

Kit of the Week!

Summer is the perfect time for trips to the Zoo or African Lion Safari and this week's "Quic-Kit" is perfect for scrapping those pictures!!

Check out the latest creation from the gals at Fruit & Nut.


Tuesday, August 23, 2011

Inspiration from the Blogosphere.....

I came across this video tutorial on the My Little Shoebox blog and wanted to share it here.  I don't know about you but I love adding homemade flowers to my projects!  The perfect way to make sure they match is to make them yourself!!

Check out the video below where Mandy Starner shows you had to make some simple yet gorgeous chrysanthemums.


Monday, August 22, 2011

Design Team Monday!!

This week the ladies are working with this fabulous inspiration picture put forward by Julie!  There is a lot going on in this picture and that means a lot to be inspired by!

_________________________________

Virginia


I was inspired by all of the roundness of this image as well as the colour blocking of colours in the middle surrounded by a solid colour.

This is one of the most simple layouts I've ever done - just punched a bunch of circles and then used pop dots to make the edges pop out

Supplies:
Authentique Patterned paper - Blissful collection
American Crafts Pop Dots
Bazzill Cardstock
Kraft Cardstock
Corner Chomper
Thickers
______________________________

Michele


Papers: Authentique Paper - Wonder collection, Bazzill cardstock
Inks: Blue, gold and yellow acrylic inks, white gel ink
Ornaments: Bling, dew drops, buttons and baker's twine
________________________

Julie


Products used:
Authentique papers and title/journaling die cut - Uncommon collection
Maya Road Chipboard
Prima bling flourish
miscellaneous black cardstock
miscellaneous flowers